In this article, learn how to prepare Heylo correctly to live your life without worrying about leakage.
Are you using Heylo the right way?

To get the most out of your Heylo solution, you need to make sure you are using it the correct way.
Specifically, you need to ensure:
- The size of the Heylo sensor layer fits your baseplate
- You attach the Heylo sensor layer to your baseplate correctly
- You attach the transmitter correctly
The importance of a good fit
It is important that the Heylo sensor layer has a good fit to your stoma products so it can accurately monitor for signs of leakage under the baseplate. A good fit is one where the sensor layer is fully covered by the baseplate and its inner diameter is larger than the hole cut in your baseplate.
Always make sure your sensor layer is centrally positioned on the baseplate. If you are using a convex baseplate, the sensor layer should be positioned outside the convex slope. If you have any doubts about the sizing of your sensor layer, reach out to your Stoma Care Nurse or the Heylo Support Team who will be happy to assist you.
Preparing your stoma solution and attaching the Heylo sensor layer to your baseplate
Follow these steps to prepare your stoma solution when using Heylo.
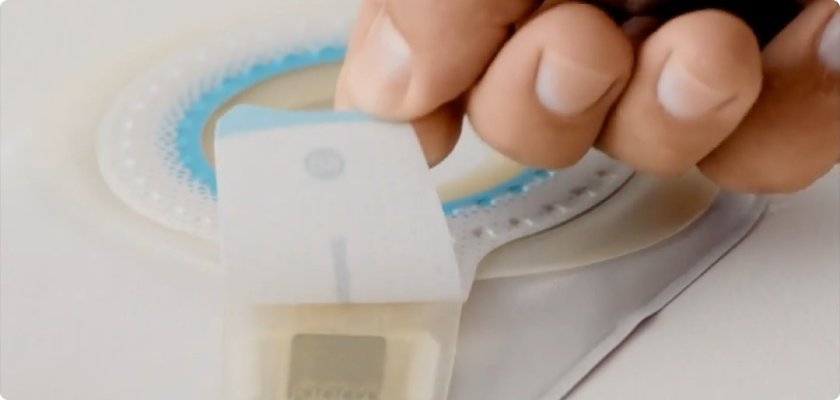
Place a sensor layer on a flat surface. Identify its connector flap and lift it firmly upwards. This prepares it for attaching your transmitter later.
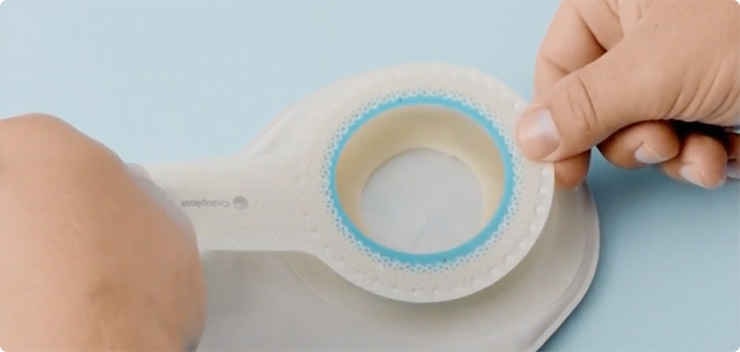
Then prepare your stoma product as you normally would: Place your stoma bag or baseplate on a flat surface with the adhesive facing upwards. Remove the release liner from the baseplate. Do not remove the release liner from the Heylo sensor at this point.
With the turquoise ring facing up, place the Heylo sensor layer centrally on your baseplate. The sensor
layer arm can point in whichever direction seems most natural or comfortable for you.
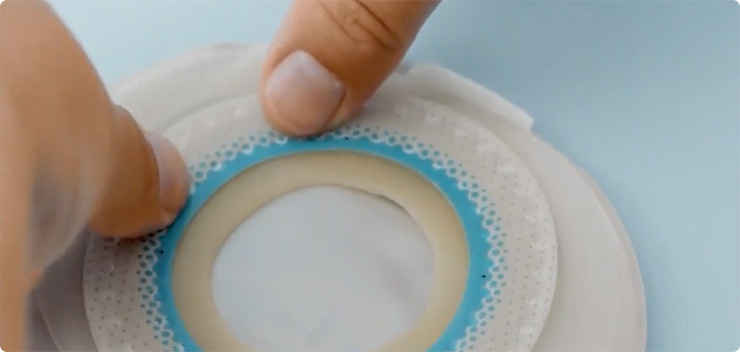
Press the Heylo sensor layer down firmly. Avoid touching the exposed adhesive of your baseplate as this may reduce its adhesion to your body later. Press down on the turquoise ring of the Heylo sensor layer with your fingers and circle approximately 3 times to ensure it is firmly attached to your baseplate.
At this point, remove whatever stoma product you are wearing and prepare your skin for the new stoma product. Always make sure your skin is clean and dry before applying a new stoma product.
You can then remove the release liner from the Heylo sensor layer. Do this gently so you ensure you do not lift the sensor layer off the baseplate.
Finally, apply your appliance as you would normally do, to clean, dry skin. Do not forget to press down along the sensor layer arm as well.
For further instructions about preparing your stoma solution with Heylo, please refer to the Instructions for Use by clicking the link below.
Attaching the transmitter correctly
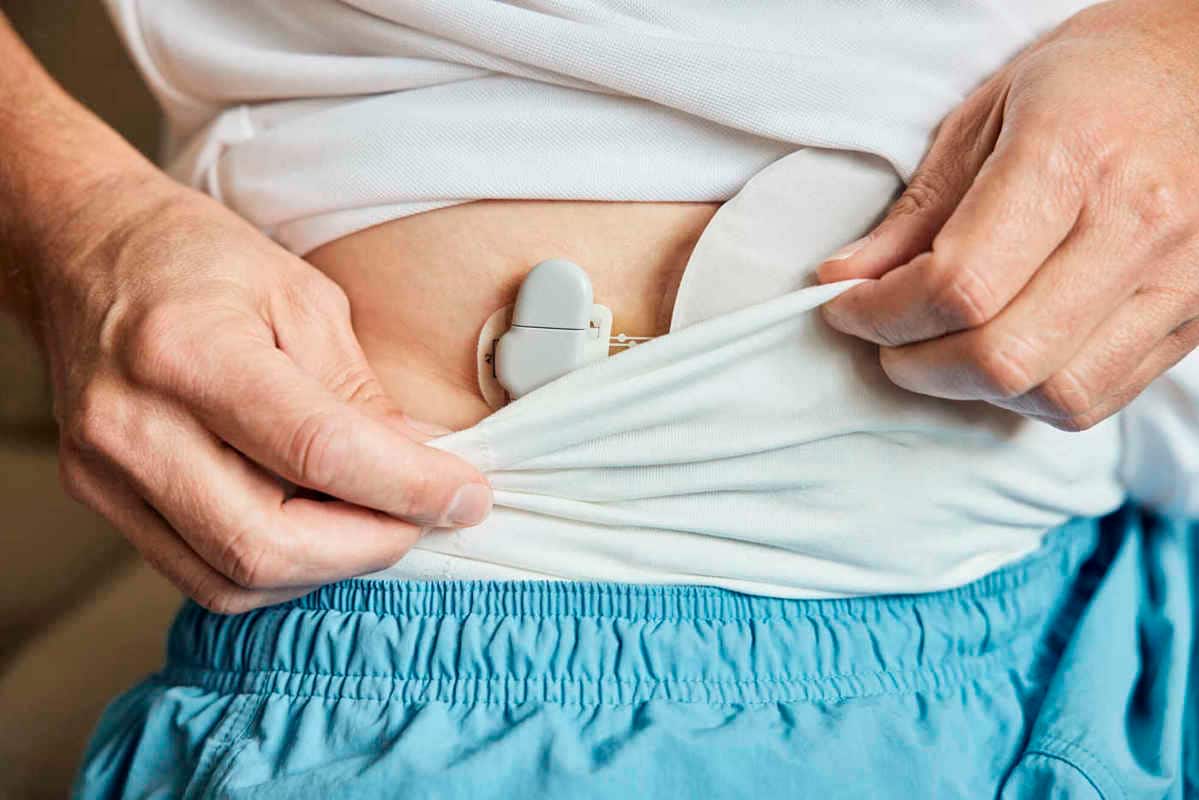
It is easy to attach the transmitter to the connector flap, even when you are wearing your Heylo solution. Lift the transmitter lid until you hear one ‘click’ – the lid will be in a fixed lifted position, as shown below:
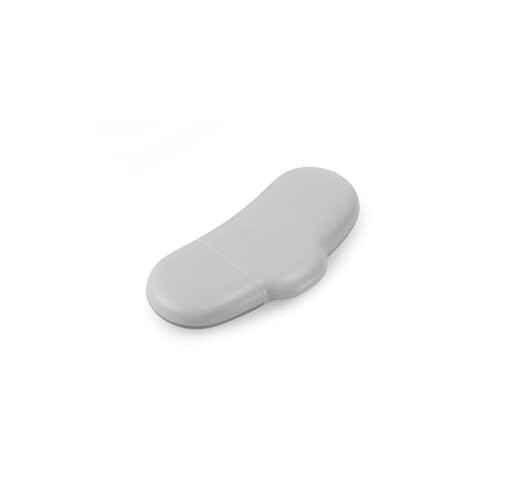
Identify the dark grey side of your transmitter – this side should be facing your body when you attach it. Then locate the opening of the transmitter, insert the connector flap into the transmitter opening and slide it all the way on.
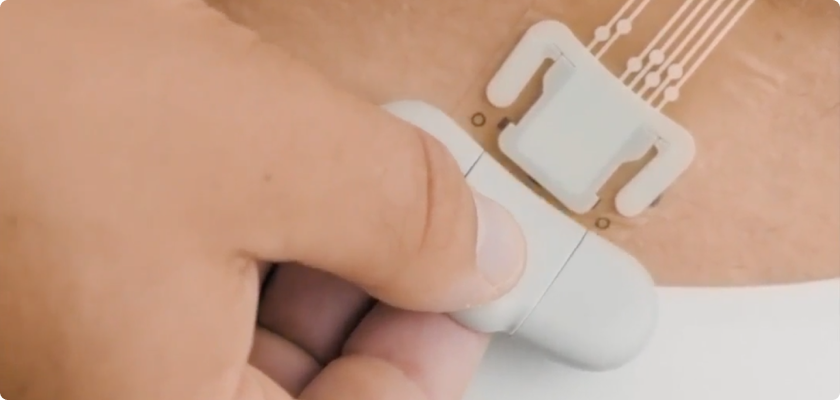
Press down firmly on the transmitter lid to fully close it with a soft click. Your transmitter is now attached to your baseplate and ready to monitor your stoma.
To get further instructions visit the applying guide in the Heylo app.
And as always, if you have additional questions or concerns about your Heylo solution and would like further support, reach out to the Heylo Support Service on 0800 220 255 or email heylouk@coloplast.com.